
If you’re in any way connected to PFC (Parker Ford Church),
you know that this past week we started The Alpha Course. The course started in the 1970’s in
Holy Trinity Church in Brompton, England, a Church of England parish. Initially, it was used as an
introductory class to present the basic principles of the Christian faith in a
relaxed atmosphere. However, in
the 1990’s, former lawyer, Nicky Gumbel, realized that the course could appeal
to non-churchgoers, and he adapted it.
Since that time the ten-week course has spread to 169 countries and is
supported by all major denominations.

The Alpha Course actually comes with its own cookbook. Tested and approved recipes for main
courses, side dishes, salads, and desserts are included. The cookbook also include directions,
tips, and shopping lists for preparing for 10, 30 and 100 participants. Not every week is a pasta dish, but as
“comfort food” is suggested, I thought I’d start with baked ziti.
 |
Journey Kids logo © Parker Ford Church, 2011
|
I have a great recipe for baked ziti that I’ve adapted and
refined over the years. The recipe
as presented in this post will fill a large lasagna pan or 9"x13" baking dish. As a main course, it will serve 8-10
people; as a side dish, 12-15. I
decided to make two double batches.
I also decided to use foil pans for easy clean-up. The ziti was made the day before and
refrigerated. It can also be made
further in advance and frozen either before or after baking. Allow 24-48 hours for it to thaw in
your refrigerator.
BAKED ZITI
Ingredients:
1 lb. box of ziti pasta (I used penne, as it was on sale)
24 ounces of ricotta cheese
1 lb. shredded mozzarella cheese
1 egg, beaten
1 cup sour cream
1 teaspoon dried oregano
1 teaspoon dried basil
2 Tablespoons dried parsley flakes
1 (32 oz.) jar or prepared spaghetti sauce, divided, as per directions
¼ cup Parmesan cheese
Directions:
Make the pasta according to package directions, using
lightly salted boiling water.
Follow the directions for an al dente
level of doneness.
Preheat oven to 375° if you will be serving the baked ziti
and not refrigerating or freezing it for a later time.
While the water reaches boiling and as the pasta is cooking,
prepare the other ingredients. In
a large bowl, combine the ricotta and mozzarella cheeses, 1 slightly beaten egg, and 1½ cups of
the spaghetti sauce, reserving the remainder. Next add the sour cream and the three dried spices. Incorporate all ingredients until well
blended.
Add the drained pasta, folding it into the mixture. When the pasta is even coated with the
cheese mixture, lightly grease a lasagna dish or a 9”x13” baking dish and spoon
in the ziti mixture.

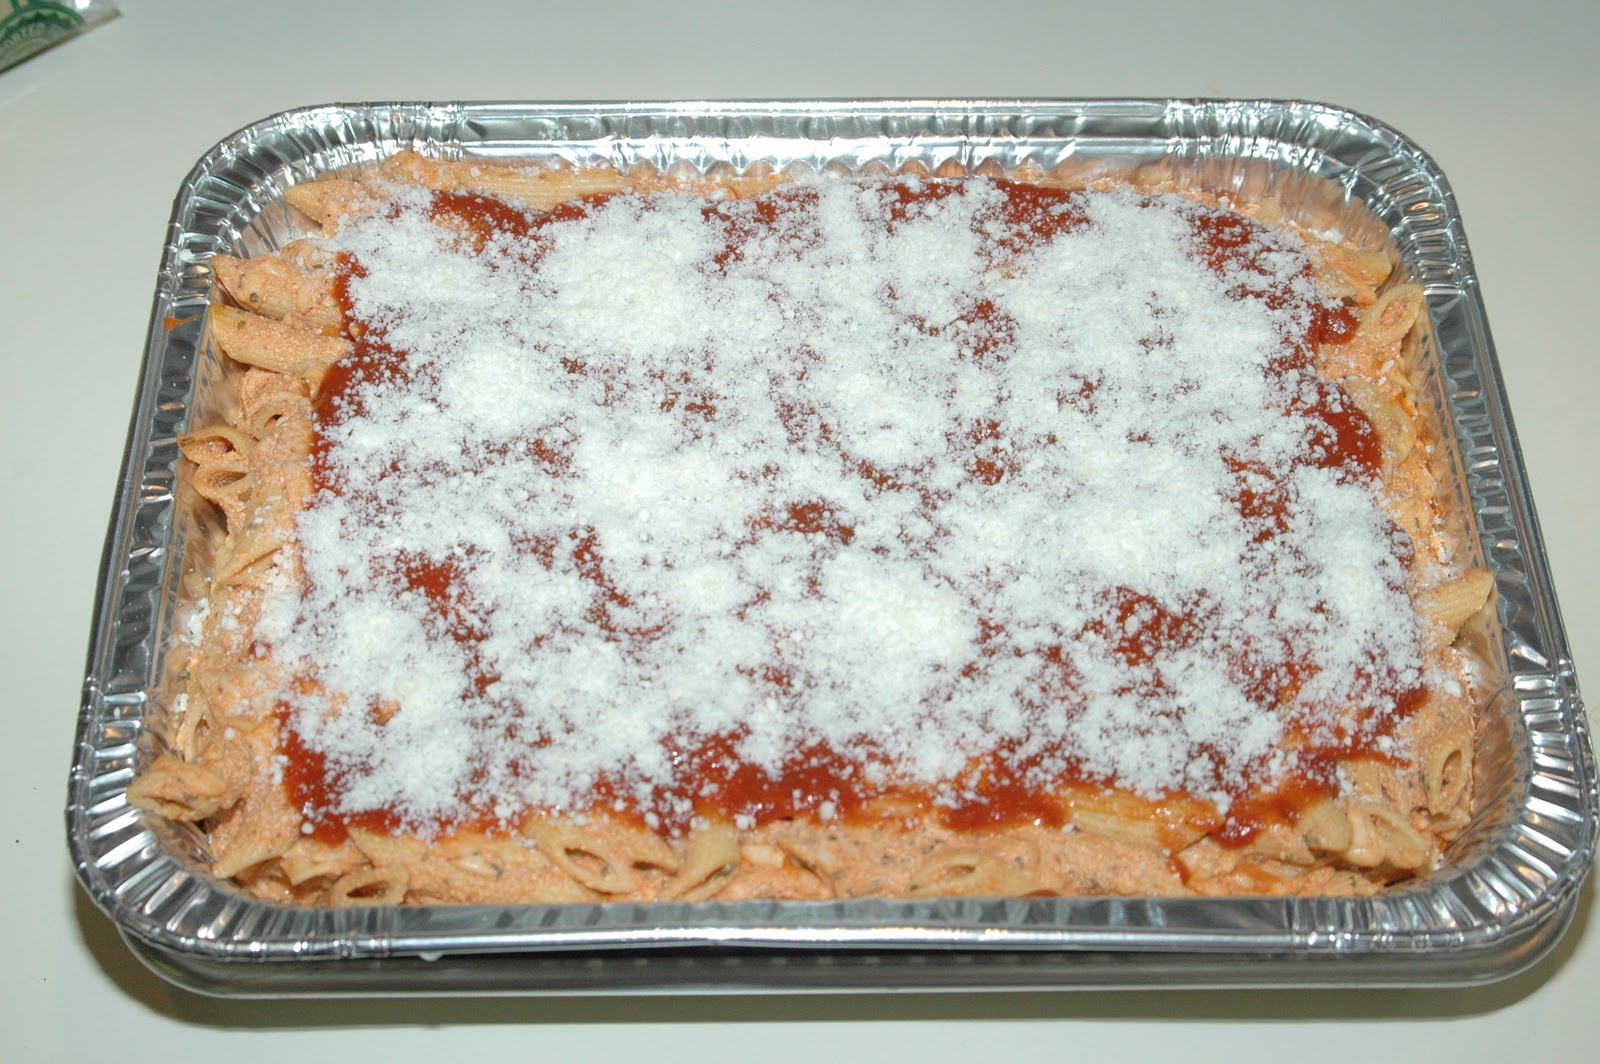
Spread ziti evenly
and then top it with the reserved spaghetti sauce, followed by the Parmesan
cheese. Bake in a preheated oven
for 30 minutes, allowing it to stand for 15 minutes before serving. When heating a refrigerated dish,
increase baking time to 45 minutes, or until the internal temperature reaches at
least 165°.
ALPHA "ONE BOWL" BROWNIES

For the brownies, I used the Alpha Cookbook. I honestly can't remember ever making scratch brownies before. There are so many great mixes out there, I just never bothered. These were almost as simple to make and were very moist and very chocolaty. They would have been even better if I had added nuts and chocolate chips. (Try adding 1 cup of each.) I also used a foil pans for the brownies for easy clean-up for the three batches I made.
Ingredients:
¾ cups of cocoa
¾ cup margarine or butter (of course, I used butter)
2 cups granulated sugar
3 eggs
1 teaspoon vanilla
1 cup all-purpose flour
¼ teaspoon salt
Directions:
Preheat oven to 350°.
As you add the ingredients, allow time for each to mix thoroughly before adding the next. In an electric mixing bowl, add the cocoa and melted butter. Mix until smooth. Add the sugar, then the eggs one at a time. Stir in the vanilla, flour (one-third at a time), and salt. If using nuts and/or chocolate chips add them at this time, saving a few to sprinkle on top. Scrape down the sides and allow the batter to mix for a final minute or two.
As you add the ingredients, allow time for each to mix thoroughly before adding the next. In an electric mixing bowl, add the cocoa and melted butter. Mix until smooth. Add the sugar, then the eggs one at a time. Stir in the vanilla, flour (one-third at a time), and salt. If using nuts and/or chocolate chips add them at this time, saving a few to sprinkle on top. Scrape down the sides and allow the batter to mix for a final minute or two.
Lightly grease or spray a 9”x13” pan. Add the batter and bake at 350° for 30-35 minutes. Do not overbake. As the batter is very thick, you really
can’t determine doneness in any other manner than time.
Other suggestions for this recipe include sprinkling the top
with white chocolate chips or M&M’s.
Even though the top of the brownies will appear dry when they come out
of the oven, don’t be fooled. They
are very moist and don’t require any icing...but that would be good, too!
Enjoy!
No comments:
Post a Comment