
At the end of the summer a small group of us went
camping. The trip had been planned
as a youth outing, but competing options and conflicting commitments had
reduced the number of youth to zero.
Rather than relinquish the reservation at Susquehannock State Park, we
decided to carry on. The campers
included one of our pastors, his wife and their three children; my son and his
wife; and myself. Our group turned
out to be the only one in the park, so that was quite nice.

Pastor Josh made a great chicken and vegetables meal in foil
over the coals of our campfire. We
took a hike to watch the sun set over the Susquehanna River, and then returned
to the campfire to make S’Mores.
I’ll never forget that on one of our many camping trips to
Vermont, my daughter, (who was a great little camper, by the way), asked if we
were going to make “oars.” We had
no idea what she was talking about until she emphatically reminded us that we
always talk about making “some oars.”
Whenever we make them and she’s "in the house," we still refer to them as “oars.”

I volunteered to make breakfast. Since there were kids along, I thought they might enjoy
breakfast sandwiches, and planned accordingly. I packed up the Coleman stove that my dad bought in 1962 at
Goldberg’s in Philadelphia. He
purchased it along with a canvas wall tent, dining fly, and other assorted
camping equipment that we used on our first family camping trip to New England. That stove has been from coast to
coast, and still works like a charm.
BREAKFAST SANDWICHES ALFRESCO
(click on any image to enlarge it)
Ingredients
For each sandwich you will need:
For each sandwich you will need:
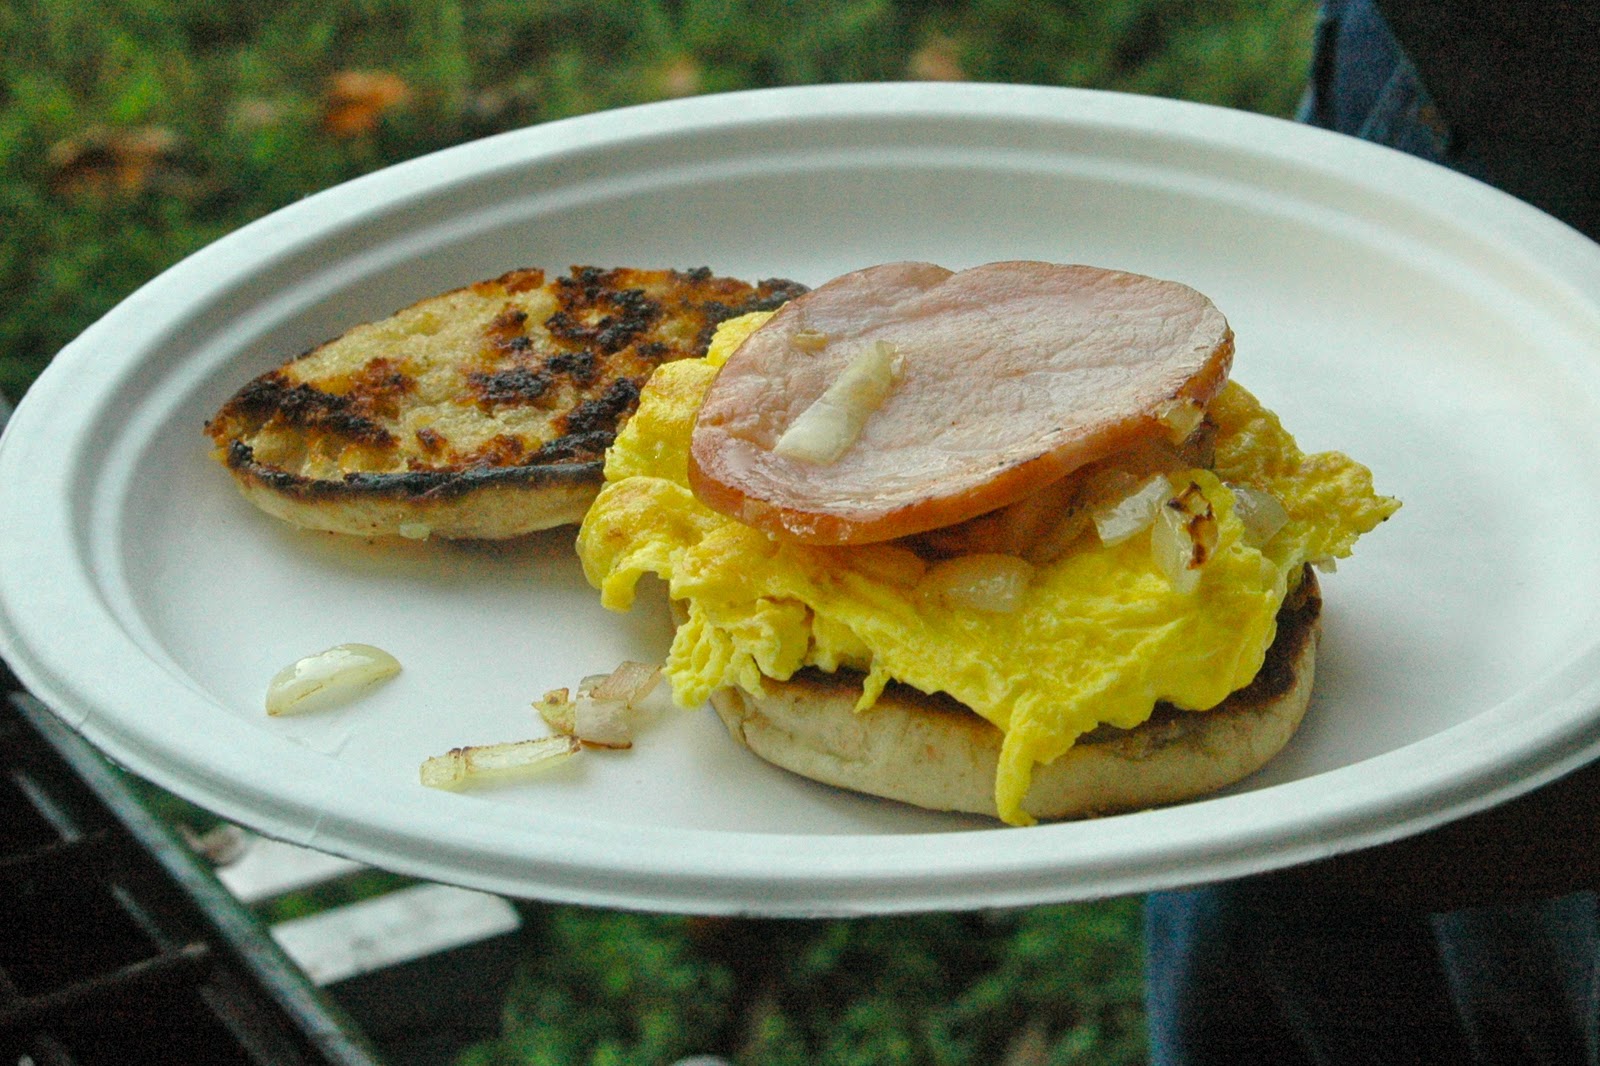
2 strips bacon (or 1 slice of Canadian bacon)
1 English muffin, (use a fork to separate the halves)
2 eggs, scrambled with 2 Tablespoons of milk
1 slice cheese
margarine or butter
salt and pepper

There is really no recipe this week, just a description of
how we made and assembled the sandwiches.
The first thing to do is to cook the bacon. Even though it will cool while the other ingredients are
made, it will warm up nicely when placed in the sandwiches with other hot
ingredients. When it has cooked to
the desired level of doneness, allow the bacon to drain on a plate lined with
paper towels.

One word of
caution: Do not attempt to pour
hot bacon fat into a plastic cup!

Toasting the English muffins is the next order of business
in the outdoor kitchen. When I was
a kid, part of the camping equipment that Dad purchased was a “toaster” that
was to be used on top of the Coleman stove. Forget it. By
the time the bread was toasted, it was as dry….well, it was as dry as toast, if
you know what I mean. Instead,
“toast” the bread by buttering the insides with margarine or butter and pan-fry
the halves. To get a nice toasty
texture, you can apply a little pressure with your spatula in order to increase
muffin to pan contact. When the
muffin halves are toasted to your liking, stack them and, if possible, keep
them on the stove in a pan or other metal container.

While the muffins are toasting, you should have time to
prepare the eggs for scrambling.
Crack the eggs into a bowl and add 1 Tablespoon of milk for each
egg. Whisk the eggs until fully
scrambled. It helps if the pan you
are using for scrambling is hot, (droplets of water sizzle on the surface), and
coated with butter, margarine, or cooking spray. Pour the egg mixture into the frying pan to a depth of about
½” to ¾”.

When the eggs are done, (not too dry), place some on top of
half of a muffin, top with a slice of cheese, then the bacon and the top half
of the muffin, and you’re good to go.
As you can tell, we had some chopped onions leftover from the previous
night’s dinner, so we sautéed them and included them for those who wanted them.
 |
| "Happy Campers" |
If you’re not already aware, everything tastes better in the
outdoors. Egg McMuffins were no
contest to these breakfast sandwiches.
Enjoy!
No comments:
Post a Comment