
 |
| Matt and his friend Geoff Cornish getting ready to "flip their lid" |

On one of those visits, I purchased an ice cream recipe book. We received an ice cream maker as a wedding present and my thought was that I could make my own Rain Forest Crunch whenever I wanted some. That didn’t happen. I think we made one recipe…plain vanilla…and then shelved the book. I pulled it out a week before Easter this year, thinking that I could make a special dessert. That didn’t happen either.
I’ve never made a sorbet, or even a sherbet for that matter, (which will become obvious as you read this), but am always game for a new challenge. The raspberry sorbet recipe seemed very basic and the ingredients were simple…a perfect recipe for TADITK (There’s a Dad in the Kitchen). It also involved a machine. What dad could ask for anything more?
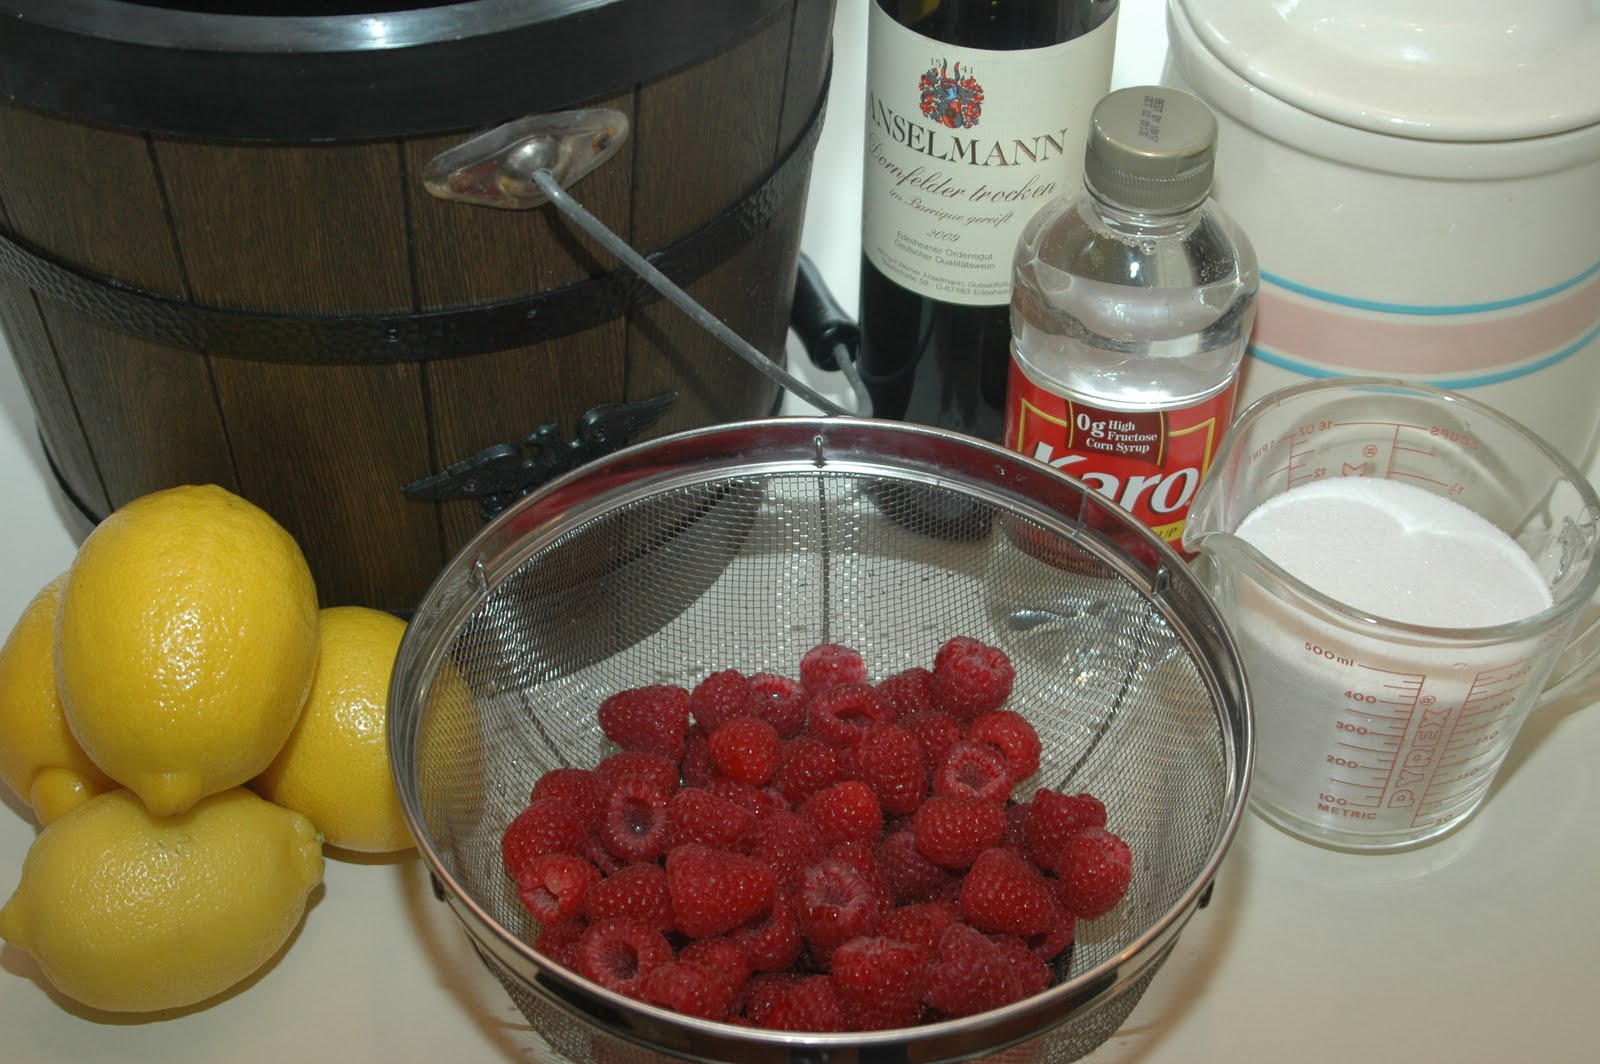
Ingredients (makes one quart):
¾ lb. of fresh raspberries ¼ cup dry red wine
1½ cups sugar ¼ cup light corn syrup
Juice of ½ lemon 1 cup cold water
First, it is necessary to prep the raspberries. After rinsing, drain and combine them with the sugar and fresh lemon juice. The B&J recipe only said “combine,” so I decided to mash them a bit. I did so, but as it turns out, I should have mashed them more thoroughly, or even pureed them. Stay tuned….
 |
| Raspberries, sugar and lemon juice. Mixture should have been mashed much finer, or pureed. Refrigerate at least an hour before freezing. |
As with any ice cream, sherbet, or sorbet that you are going to freeze at home, it is very necessary to seriously chill the mix before freezing it. Doing so will save an amazing amount of time, (and ice). So, refrigerate the berries, sugar and lemon juice for at least an hour. This recipe calls for a ¼ cup of dry red wine. I know that you’re not supposed to refrigerate red wine, but it’s going into sorbet, for Pete’s sake, so I stuck that in the refrigerator, too. It’s also a good idea to use refrigerated water. Don’t chill the light corn syrup, because you’re going to have to blend it with the rest of the ingredients. Corn syrup thickens when cooled.
I was a little dubious about the red wine in the ingredients; worried about the effect it might have on the taste. To me, sorbet and red wine are mutually exclusive. That turned out not to be a concern, as the sugar and corn syrup more than compensated. Ben & Jerry recommend a "generous shot of Chianti" poured on top of the raspberry sorbet before serving. Couldn't do it.
The ice cream maker that I used is more than 30 years old, as you can tell from the scans of the owners manual, below. Some makers churn by using a hand crank, but ours is totally modern. It has an electric motor! The motor actually turns the freezing can while the dasher, (mixing beater), remains stationary. The can spins in a bath of briny ice water. Mixing salt with ice lowers its temperature drastically, and the spinning action of the can actually causes a smoother texture to whatever you’re freezing.
 |
| 1970's vintage Proctor-Silex Ice Cream Maker instruction and recipe booklet |
After the hour of chilling the ingredients in the refrigerator, mix all ingredients together and place them in the freezing can, inserting the dasher and assembling the ice cream maker according to directions. It’s a good idea to run the maker without ice for a minute or two to make sure everything is working properly.
 |
| Freezing can is on left and dasher is on right |
If you don’t have access to crushed ice, you’ll have to crush your own. This is easily accomplished with a cutting board, a gallon Ziploc bag and a wooden meat-tenderizing mallet. Place about four cups of ice in the bag at a time, seal it tightly and smack any cubes, so that the resulting pieces are no bigger than large dice. (The dogs, who had been in the kitchen, left and took refuge when I started crushing the ice.)
 |
| Ice must be crushed or sorbet will not freeze with a smooth texture |
With the ice cream maker running, begin adding the ice to the space between the walls of the bucket and the freezing can. Add three inches of ice and then sprinkle 3 tablespoons of salt. If you use table salt, use level tablespoons. If you use rock salt, use heaping ones. Continue layering in this fashion until you reach the top of the freezing can. As far as the amount of ice needed, I used a little less than an 8 lb. bag of ice to make a quart of sorbet. More ice would be needed for larger recipes. It’s really important to keep the drainage spout clear as the ice melts. You do not want the brine solution to rise above the top of the freezing can. Salty water and sorbet don’t go together very well. It is amazing how cold the salt and ice mixture gets. My thermometer registered 13°!
 |
| Note the ice filling the space between the freezing can and the sides of the bucket. Below, is a short video of the ice cream maker in operation. The can, not the dasher, moves. |
My ice cream maker is so high-tech that when the ice cream is done, the motor just stalls. It is critically important that you unplug the motor immediately, or the unit will be damaged. I’m thinking that newer models must have an automatic shut off, but it’s still better than hand cranking. The raspberry sorbet was ready in about 20-25 minutes.
 |
| Fairly smooth textured sorbet after 20 minutes of churning/freezing, and ready for ripening. |
Here is the part for which I was initially unprepared when making my first batch of ice cream: When the ice cream maker stalls, you would think that the ice cream is ready, right? Wrong. It has to ripen. That means it has to spend time in an actual freezer…about 3-5 hours...and it's really hard to wait. While you think you should be able to just put the mixture directly into a freezer, you can't. The ice cream maker does two things for the ice cream or sorbet. First, it blends the ingredients into a smooth, super-cooled mixture. Secondly, it adds an invisible ingredient…air. Without air, any ice cream or sorbet you make would just be a solid, impenetrable block of ice. The richer the ice cream, the less air in it, but it has to have some, or it would be incredibly inedible.
 |
| The recipe yields about one quart of sorbet. Notice how quickly it began to soften before ripening. |
After ripening, I was more than ready to try the sorbet. The taste was really quite good. However, due to the fact that I did not puree the raspberries more, the larger pieces of berry had frozen solid. That was not a pleasing texture. And frozen berry takes longer to melt in your mouth, and therefore takes longer to taste. The trouble is that the frozen berry has already numbed your tongue and by the time it melts, you can’t taste it any way. Moral of the recipe: Puree your raspberries!
I’m definitely going to try another batch, especially since I have the raspberries. In addition to pureeing, I’m also going to cut back on the sugar a little. Although the frozen chunks of fresh raspberry were a little tart. So if they are pureed, I'm thinking that will temper the sweetness of the sorbet a little. Stay tuned. I'll post the new results. At some point I also want to try several other sorbets. I have recipes for kiwi and strawberry, and fresh local strawberries are just around the corner!
TRUTH IN ADVERTISING DISCLAIMER: Thanks to all of you who voted this week, helping me to select the next dessert recipe on TADITK. However, in the interest of truth in advertising, I have to come clean. When I left the house for a breakfast meeting on Monday, Raspberry Sorbet was winning. I stopped for the ingredients on the way home, spending almost $15 on raspberries, only to find that the Jewish Apple Cake had beat out the sorbet by one in the final moments of voting. If you think I’m going to disregard $15 worth of any fruit, you would be mistaken. To those of you who voted for the apple cake: Take heart. I promise it will be the next dessert posted!
UPDATE: Second Batch a Success!
Posted May 4, 2011


UPDATE: Second Batch a Success!
Posted May 4, 2011
Success! The second batch of raspberry sorbet was much improved. Pureeing the raspberries along with the sugar and lemon juice did the trick. Before placing those three ingredients in the blender, I mashed them as I had done for the first attempt. They were then blended on the “puree” setting and refrigerated for an hour. Notice the smoother texture of the pureed berries below.

I did not change anything else about the original recipe. I was going to cut back on the sugar, but my instincts told me that the tartness of berries once pureed would balance out the intense sweetness of the sugar and corn syrup that was present in the first batch. It did. The final product had a good flavor…not too sweet, and not too tart. The texture of the resulting sorbet was also much more uniform and smoother. The only drawback drawback for some might be the presence of raspberry seeds in the sorbet. They’re not that big of a deal, and they certainly let you know that it’s homemade.

The second batch also took 25 minutes in the ice cream maker, and the salt and ice mixture was measured at an impressive 11°. Below, you can see the sorbet just out of the freezing can and ready to be ripened in the freezer. It was delicious. I can’t wait to try some other sorbet recipes. Remember: Pureeing is the key!

The chunks of raspberry just let you know that it is real! :)
ReplyDeleteStill I know what you are saying...this would not be a pleasing sorbet texture.
Your tip is committed to memory!
I feel totally inspired to try this soon! Also, I did not get to vote but now seeing the choices I'm so glad that you'll be doing both!
ReplyDelete